AWS Lightsail | WordPress App Deployment

Before we move to WordPress installation into Amazon Lightsail, let's first understand What is Amazon Lightsail? Amazon Lightsail is used to launch and manage a virtual private server with AWS. It provides computing, storage, and networking capacity and capabilities to deploy and manage websites and web applications. Lightsail includes everything you need to launch your project quickly – a virtual machine, SSD-based storage, data transfer, DNS management, and a static IP—for a low, predictable price, etc.

This article shows you a complete guide from launching an AWS Lightsail instance to deploying a WordPress Application. This blog is made for the folks who never deploy any app to the cloud or on any server. All the steps will help you to understand what is necessary software requirements for a WordPress app and how to configure a database. When you’re done with this tutorial, you have the fundamentals to deploy a WordPress app on any server.
Contents
Step 1: Create an AWS Lightsail Instance
Step 2: Configure the Instance with Apache Webserver
Step 3: Installing MariaDB and Database Creation
Step 4: Installing PHP Software
Step 5: Download WordPress
Step 5: Setting Up the WordPress Configuration File
Step 7: Completing Installation with Web Interface
Step 1: Create an AWS Lightsail Instance
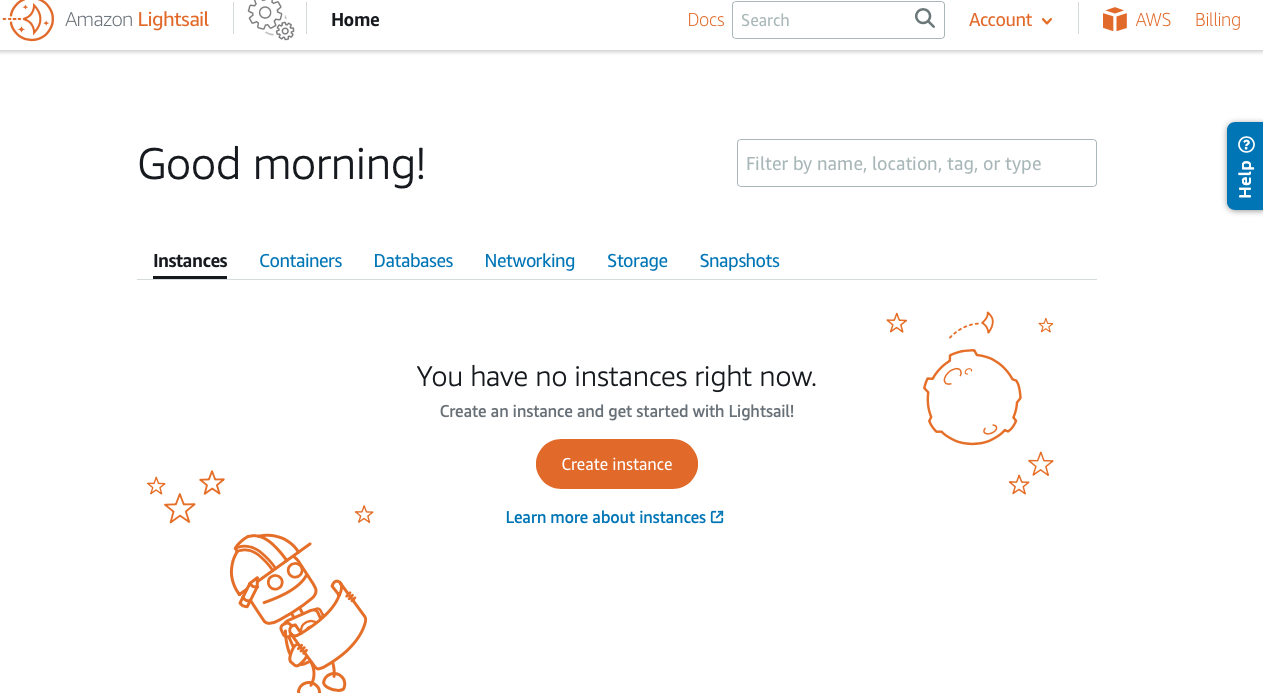
Sign in to the Lightsail console. On the Instance tab of the Lightsail home page, choose Create instance.
There are few things that needs to understand before start WordPress Installation.
AWS has lot of regions. AWS Lightsail will give the closest region based on your location but you can change it according to the users location for your application.
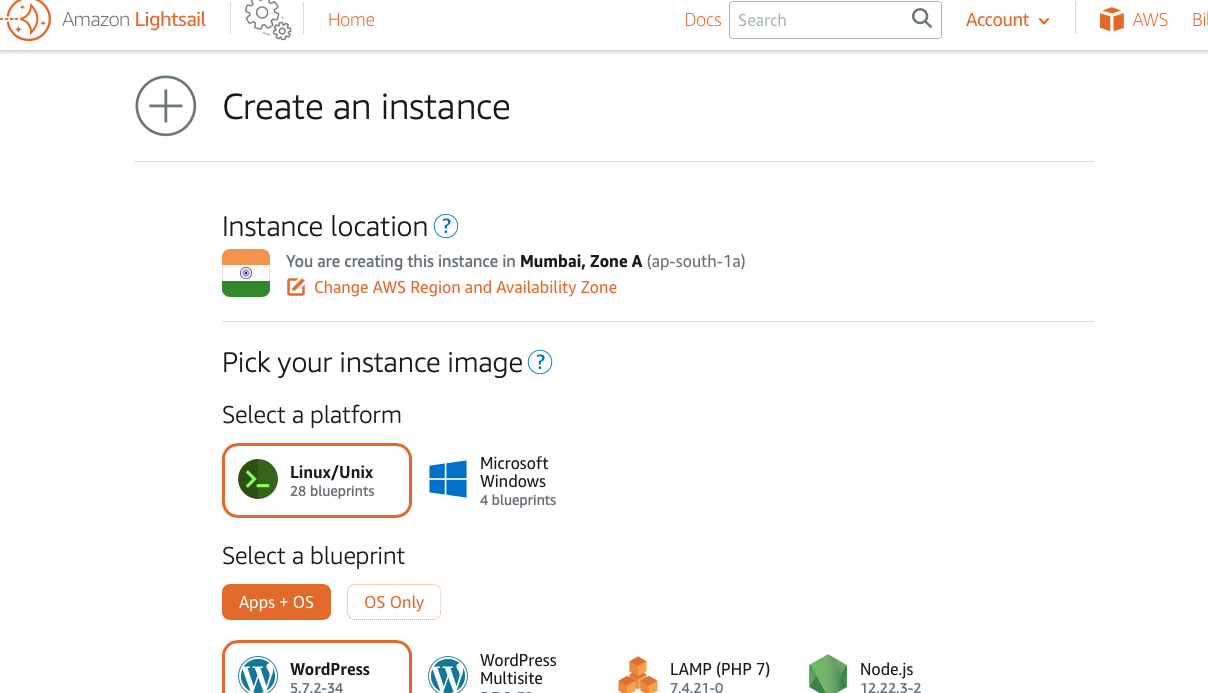
Choose your instance image.
Choose Linux/Unix as the platform.
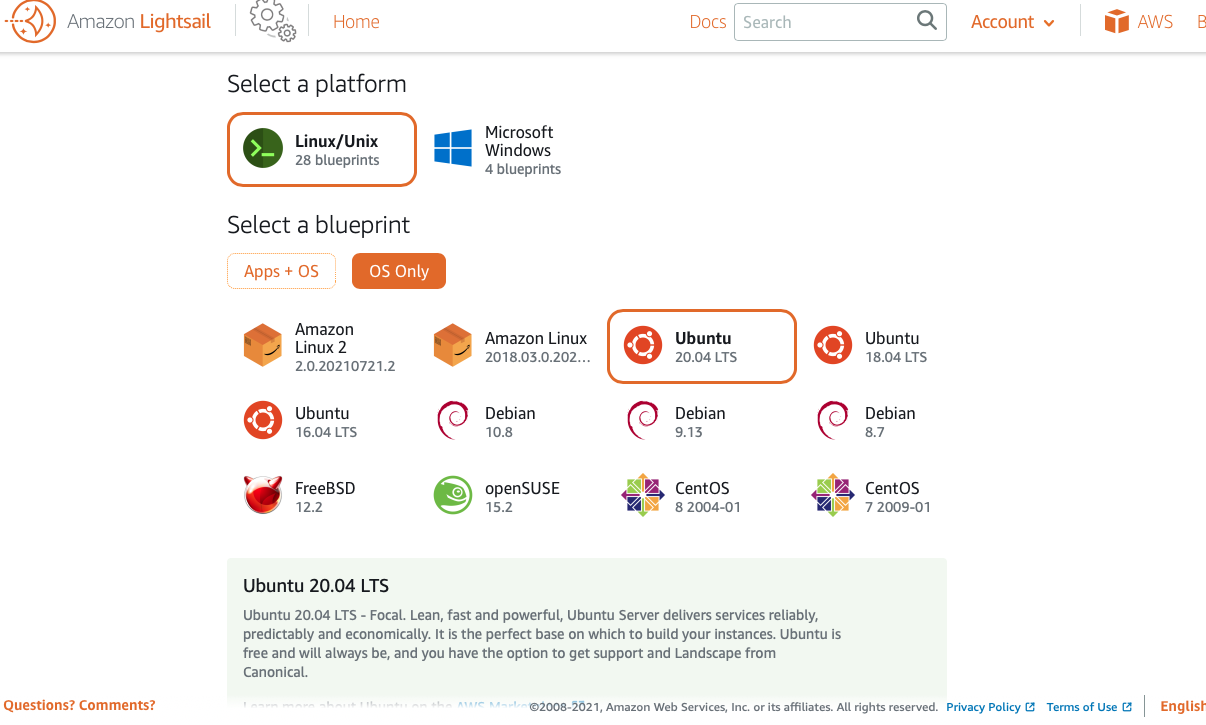
Choose WordPress as the OS Only and select Ubuntu os.
Once the above step is done, you need to select the plan which you want to take for the instance. The lowest plans $5 are good for beginners.
Now name your instance, give it a useful name so that you can recognize it later easily. Click on Create and you have instance ready with Ubuntu OS
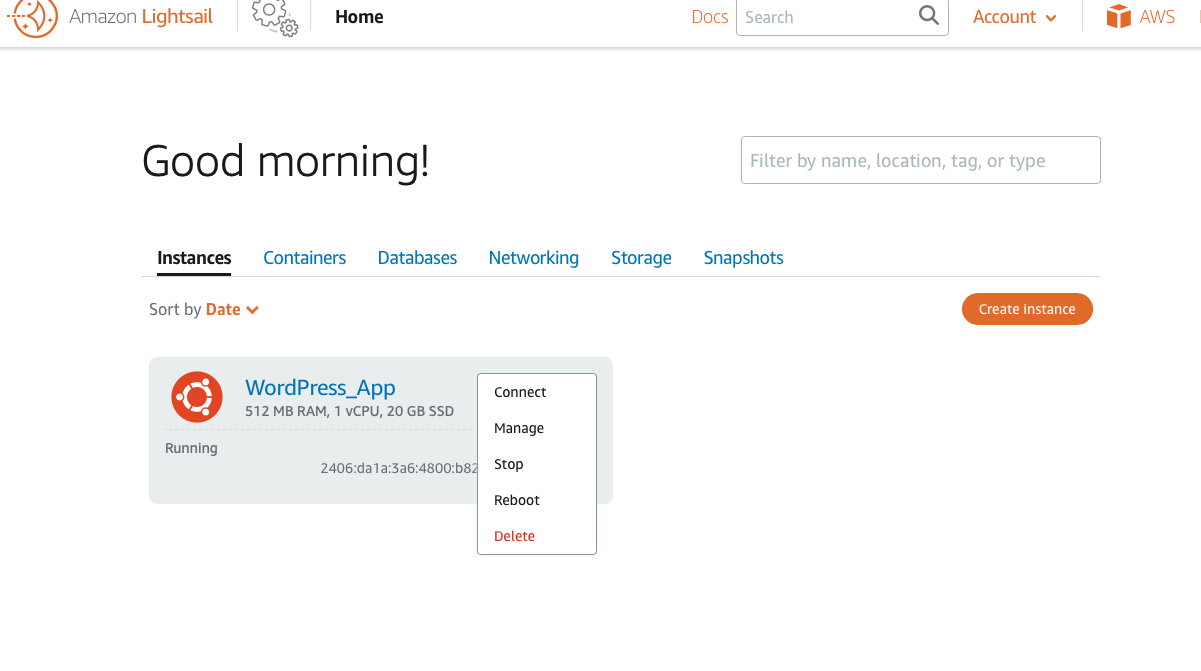
 It might take a minute to provision your instance. Once it is available, click on the three dots and you can connect to your instance.
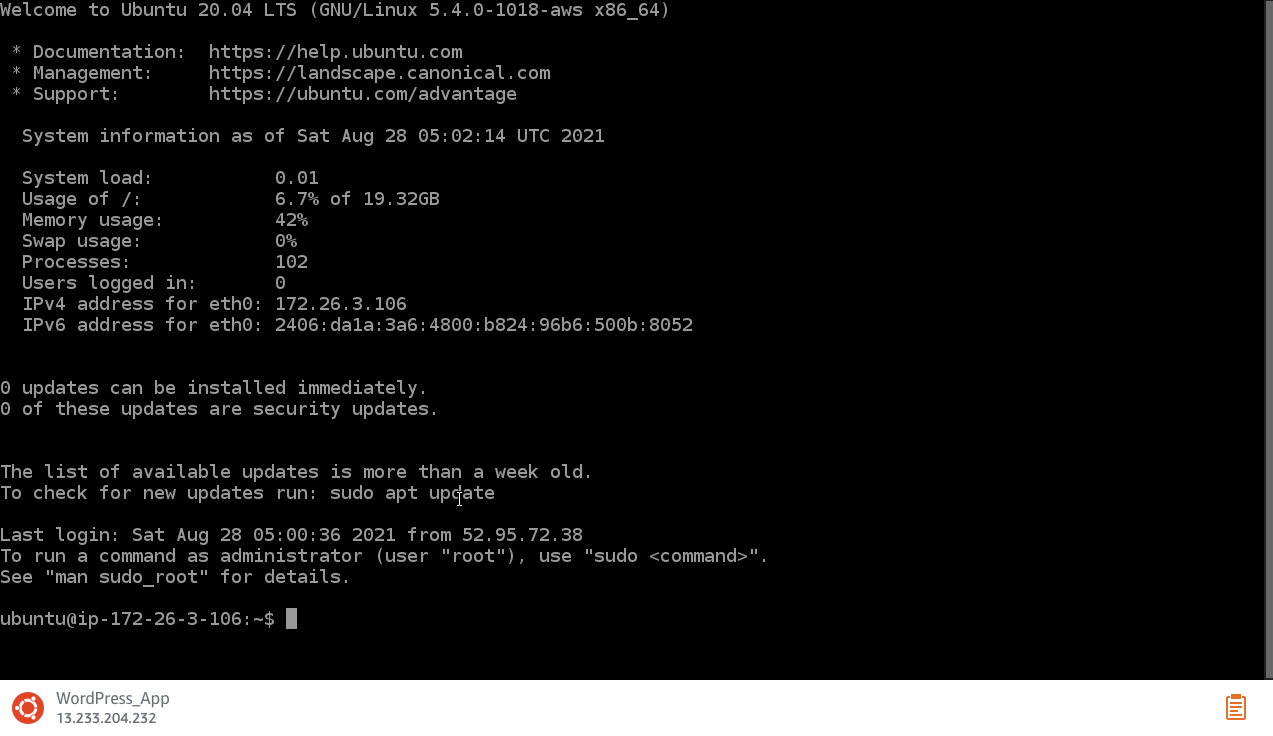
 It will open an SSH session on the browser
Step 2: Configure the Instance with Apache Webserver
Apache is one of the most popular web servers. To install and configure it run the below commands:
sudo apt update
sudo apt install apache2 -y
sudo systemctl stop apache2.service
sudo systemctl start apache2.service
sudo systemctl enable apache2.service
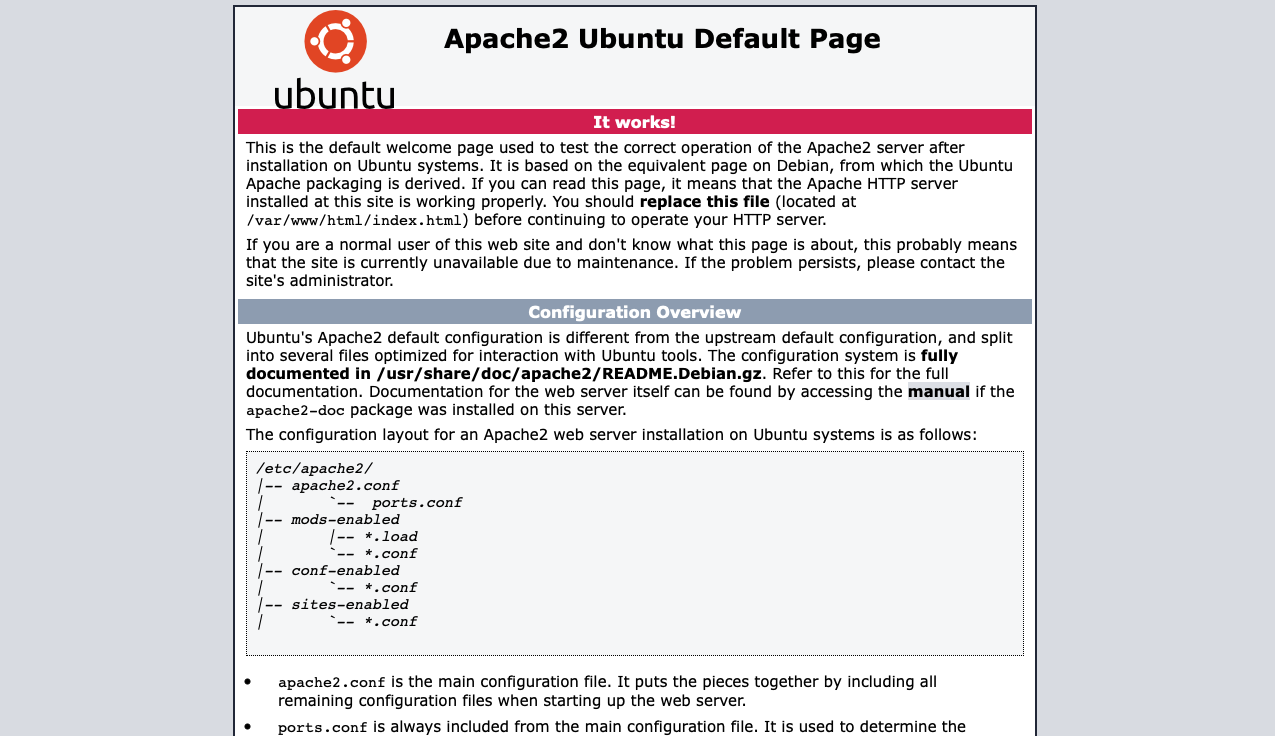
To verify that Apache is running, go to: http://server_ip Replace "server_ip" with the IP address of your Server.
Step 3: Installing MariaDB and Database Creation
MariaDB is a good open-source database, which can be used alongside WordPress. To install and setup simply run the following command:
sudo apt-get install mariadb-server mariadb-client -y
sudo systemctl stop mariadb.service
sudo systemctl start mariadb.service
sudo systemctl enable mariadb.service
sudo mysql_secure_installation
You will be requested to specify a range of information.

Follow the list below for the configuration.
- Enter current password for root (enter for none): Press Enter.
- Set root password ?: Type "Y" and press Enter.
- New password: Enter the password for the MariaDB root user and press Enter.
- Re-enter new password: Retype the password and press Enter.
- Remove anonymous users ?: Type Y and press Enter to not accept anonymous access to the Database.
- Disallow root login remotely ?: Type Y and press Enter to deny access to the Database as a Remote Root user.
- Remove test database and access to it ?: Remove the initial test databases automatically created when MariaDB is installed and press Enter.
- Reload privilege tables now ?: Type Y and press Enter to update the newly added information.
At the end of this configuration operation, to verify that MariaDB has been installed correctly, type:
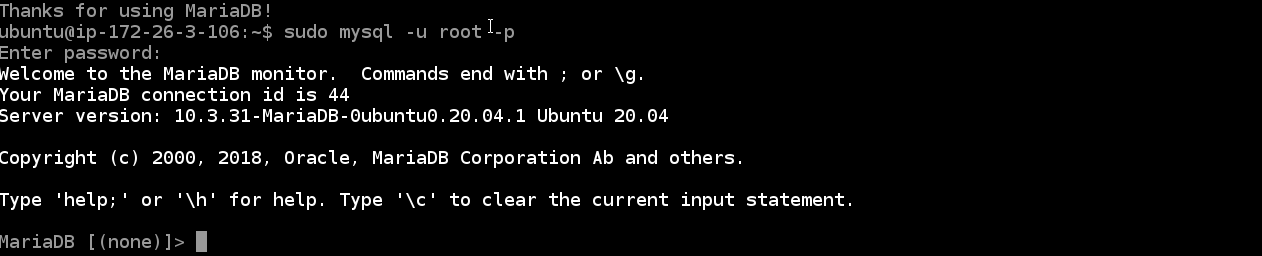
sudo mysql -u root -p
After entering the password specified above, you will enter the MariaDB shell.
Database creation
Before actually installing WordPress, create a database where all data can be saved. Create a database dedicated to WordPress. Then, create a user that can access this database and that has all the privileges. To exit, just type:
EXIT;
Follow below commands to do above mentioned database creation :
CREATE DATABASE DBNAME;
GRANT ALL ON DBNAME.* TO 'USERNAME'@'localhost' IDENTIFIED BY 'PASSWORD' WITH GRANT OPTION;
FLUSH PRIVILEGES;
EXIT;
Step 4: Installing PHP Software
Install php and its necessary submodules needed for WordPress :
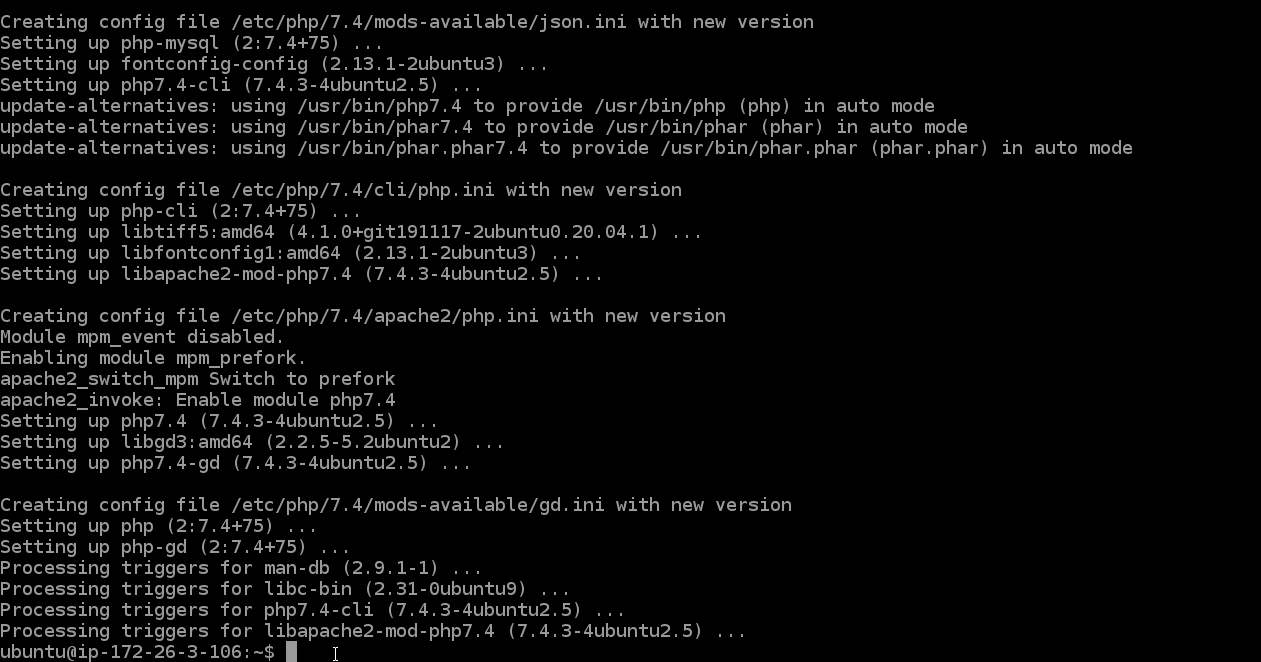
sudo apt-get install php php-mysql php-gd php-common php-cli
Step 5: Downloading WordPress
All preparation for the installation of the WordPress has been completed. All you have to do is download the software and configure it.
With the following commands WordPress can be downloaded and extracted in the appropriate directory:
curl -O https://wordpress.org/latest.tar.gz
tar xzvf latest.tar.gz

Go into WordPress directory and list all the files:
cd wordpress
ls

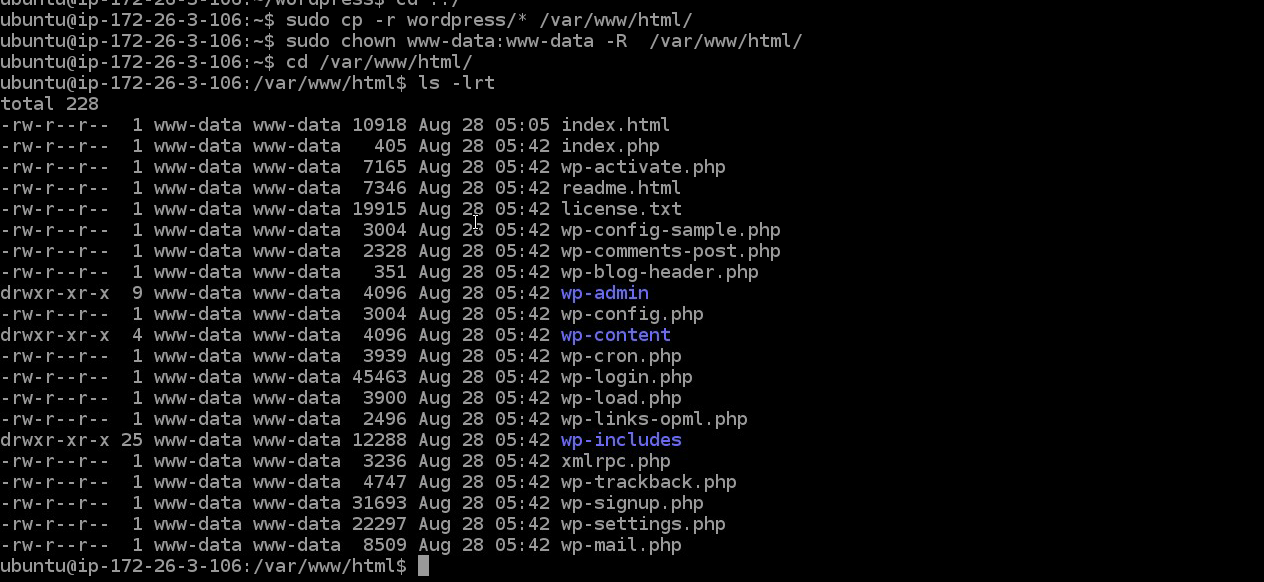
Copy all the files to the /var/www/html/ :
cp wp-config-sample.php wp-config.php
cd ../
sudo cp -r wordpress/* /var/www/html/
Then, make sure that these directories have the right permission for it to function properly:
sudo chown www-data:www-data -R /var/www/html/
Step 6: Setting Up the WordPress Configuration File
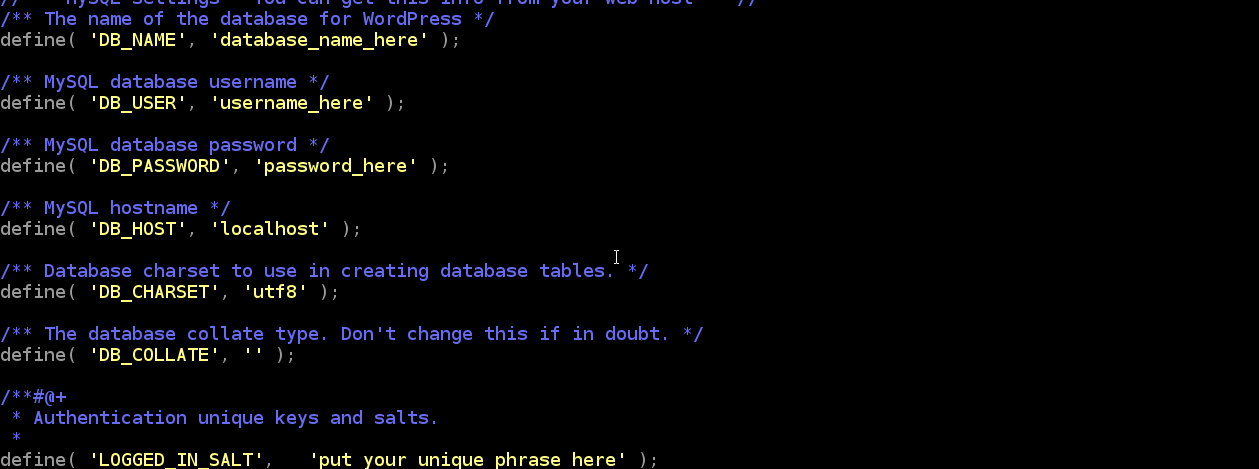
We need to make some changes to the main WordPress configuration file.
When we open the file, our first task will be to adjust some secret keys to provide a level of security for our installation. WordPress provides a secure generator for these values so that you do not have to try to come up with good values on your own.
To grab secure values from the WordPress secret key generator, type:
curl -s https://api.wordpress.org/secret-key/1.1/salt/
You will get back unique values that resemble output similar to the block below.

These are configuration lines that we can paste directly into our configuration file to set secure keys. Copy the output you received now.
Next, open the WordPress configuration file:
cd /var/www/html/
sudo nano wp-config.php
Find the section that contains the example values for those settings.

Delete those lines and paste in the values you copied from the command line:
Next, we are going to modify some of the database connection settings at the beginning of the file. You need to adjust the database name, the database user, and the associated password that you configured within MySQL.
This setting can be added below the database connection settings, or anywhere else in the file:
Finally, restart Apache:
sudo systemctl restart apache2.service
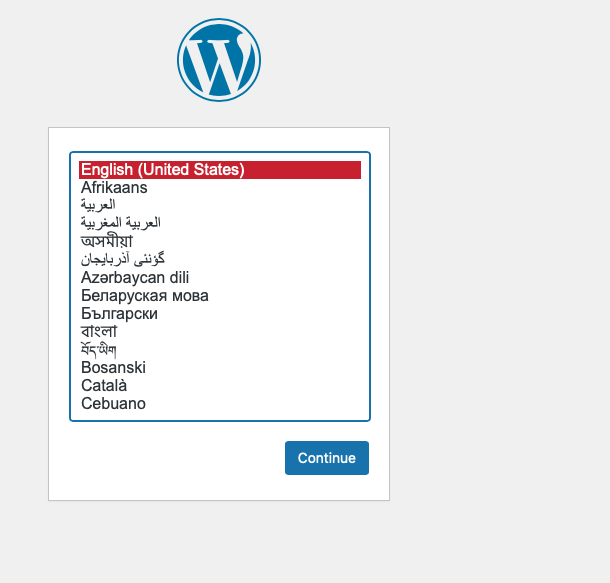
Step 7: Completing Installation with Web Interface
Now the server configuration is complete, we can complete the installation through web interface.
In your web browser, navigate to public IP address of server :
https://IP_address
Select the language you would like to use:
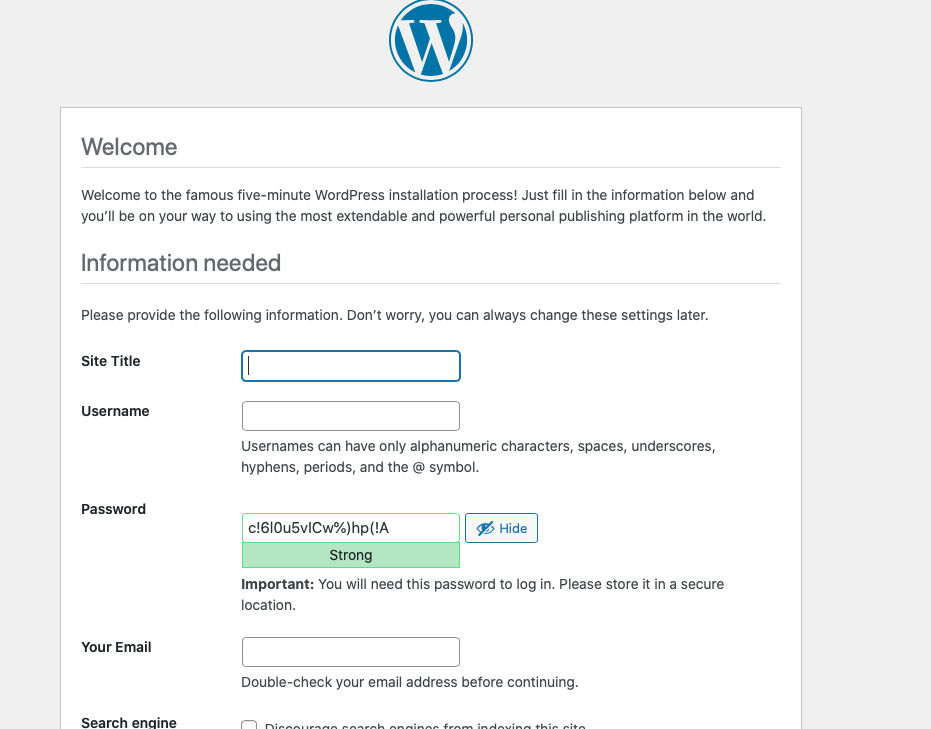
Last, you will navigate to the main setup page.
Setup a name for your WordPress site and choose a username. A strong password is generated automatically. Save this password or select an alternative strong password.
Enter your Email address.
When you click ahead, you will be taken to a page that prompts you to log in. Once you log in, you will be taken to the WordPress administration dashboard:

Congratulations, WordPress is now installed and ready to use.